A countdown timer is one of the simplest things you can add to a website, and one of the most effective. It creates a visible focal point, signals that something meaningful is about to happen, and gives visitors a reason to come back. Whether you're counting down to a product launch, a seasonal sale, a sporting event, a conference, or even just a website's anniversary, a live ticking countdown does something that static text cannot: it creates urgency in real time.
In this guide, we'll walk through why countdown timers work, when to use them, and how to add one to any website for free in under five minutes — using WidgetForge's free countdown widget, which requires no coding and no account.
Why Countdown Timers Work
The psychology behind countdown timers is straightforward: people respond to deadlines. When a visible timer ticks down in front of you, the approaching zero creates a mild but real sense of urgency. For e-commerce, this translates to faster purchasing decisions. For event promotion, it turns passive awareness into active anticipation. For sports sites, it makes match day feel imminent even if the game is three days away.
There's also a practical benefit: a countdown timer keeps your page feeling current. A page that says "our sale ends soon" starts to feel stale after a day. A page with a timer ticking down to a specific moment feels alive and accurate, which builds trust.
When to Use a Countdown Timer
Countdown timers are well-suited to a wide range of situations:
- Product or service launches — build anticipation before something goes live
- Limited-time sales or offers — create genuine urgency around a deadline
- Sporting events — count down to a match, race, or tournament opener
- Conferences and events — show how long until doors open or a keynote starts
- Website relaunch — a "coming soon" page with a live countdown signals professionalism
- Seasonal campaigns — count down to Christmas, Black Friday, or any key date
The one thing to avoid: using a countdown timer for something vague or recurring without updating it. A timer that counts down to "the end of our sale" but resets to the same date every month trains visitors to ignore it. Use timers for genuine, specific deadlines.
Choosing a Countdown Style
WidgetForge offers seven distinct countdown timer styles, so you can match the tone and aesthetic of your site. Here's a brief overview of each:
- Classic — a clean, minimal four-block layout showing days, hours, minutes and seconds. Works on any site, in any context.
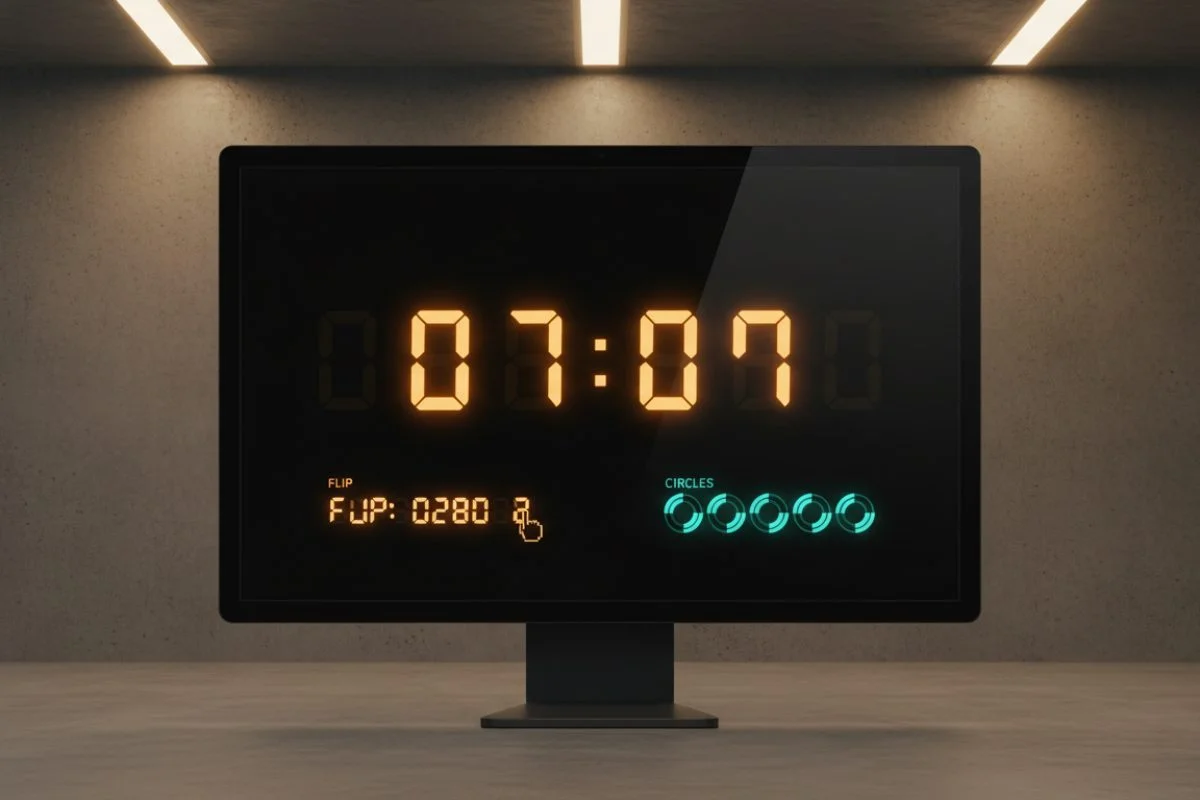
- Flip — simulates the look of a mechanical flip clock. Adds a retro, tactile feel that works well for event promotion.
- Neon — glowing digits on a dark background. Ideal for gaming sites, nightlife events, or any design with a high-contrast aesthetic.
- Circles — each unit (days, hours, minutes, seconds) is displayed as a circular progress ring. A more visual, modern look.
- Cards — large bold numbers on individual cards. Clean and striking at any size.
- Minimal — just the numbers, no labels or decoration. For sites where the timer should support the content, not dominate it.
- Split Flap — recreates the split-flap display style seen on airport departure boards. Eye-catching and distinctive.
Step-by-Step: Embedding a Countdown Timer
- Go to the countdown widget page. Navigate to the WidgetForge countdown widget and choose your preferred style from the list of seven options.
- Set your target date and time. Use the date and time picker to select the exact moment the countdown should reach zero. You can set it to any future date.
- Add a label (optional). Give the countdown context — "Season opener", "Sale ends", "Launch day" — so visitors know what they're counting down to.
- Customise the colours. Select a preset theme or enter custom hex values for background, text, and accent colours.
- Copy the embed code. Click "Copy Code" to copy your personalised snippet.
- Paste it into your site. See the section below for platform-specific instructions.
Your embed code will look something like this:
<div data-wf-widget="countdown"
     data-wf-style="flip"
     data-wf-target="2026-08-01T12:00:00"
     data-wf-label="Season Opener"
     data-wf-bg="#0F172A"
     data-wf-text="#F8FAFC"></div>
<script src="https://widget-forge.com/embed.js" async></script>
The target date and style are baked into the embed code. The countdown runs entirely in the visitor's browser — there's no server request needed after the initial page load, so it's fast and lightweight.
Platform-Specific Instructions
WordPress
In the WordPress block editor, add a Custom HTML block to your page or post and paste the embed code inside it. If you're editing a sidebar, go to Appearance → Widgets, add a Custom HTML widget, and paste the code there. Publish or update, and the timer will appear live immediately.
Wix
In the Wix Editor, click Add → Embed → Custom Embeds → Embed HTML. An HTML element will appear on your canvas. Click "Enter Code," paste your embed snippet, and click Apply. Drag and resize the element to position it on your page.
Squarespace
Edit your page and add a Code block to any content section. Paste the embed code directly into the Code block and save. On Squarespace Business and Commerce plans, the countdown will render live in the editor. On Personal plans, you'll see it on the published page.
Plain HTML
Paste the code anywhere in the <body> of your HTML
page where you want the countdown to appear. The
<script> tag only needs to appear once per page,
even if you use multiple widgets.
What Happens When the Countdown Reaches Zero
When the countdown reaches zero, the widget displays a "completed" state — typically showing all zeros or a customisable "event started" message, depending on the style. It doesn't disappear or break; it gracefully transitions to the end state and stays on the page.
If you want to reuse the widget for a new date after an event, simply go back to the configurator, update the target date, copy the new embed code, and swap it in your page. The old code stays static once the date has passed, so it won't automatically reset.
Tips for Maximum Impact
- Place it above the fold. A countdown timer only creates urgency if visitors actually see it. Aim to place it within the first screenful of content on your page.
- Pair it with a clear call to action. "3 days until the sale ends — shop now" is more effective than a timer on its own. Tell visitors what to do before the time runs out.
- Match your site's colour scheme. A countdown that clashes visually with your branding looks like an afterthought. Take two minutes to set the correct hex values — it makes a significant difference to how professional it looks.
- Don't use timers for fake urgency. If a timer resets every day, visitors will notice and stop responding to it. Reserve countdown timers for genuine deadlines.

Andy is passionate about creating free, easy-to-use widgets that help website owners engage their audiences and enhance user experience.
Ready to add a countdown to your site?
Seven styles, full colour customisation, works on any platform. Free forever — no sign-up required.